Repotting Christmas Cactus
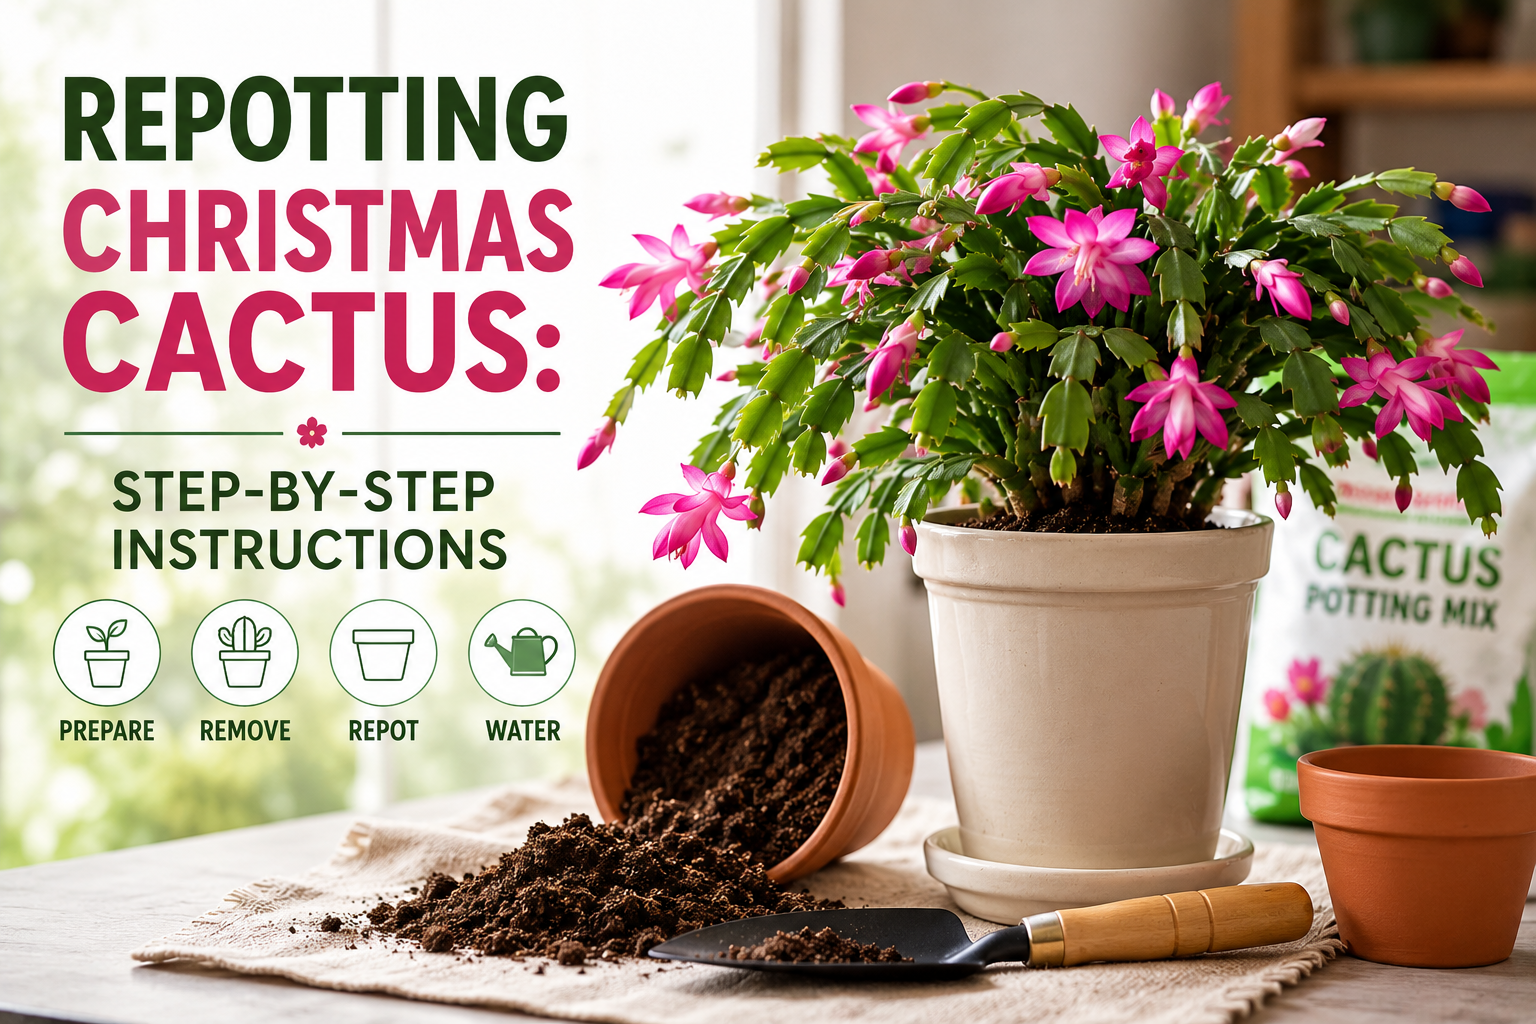
Repotting a Christmas cactus isn’t an annual chore. Most growers find that repotting every two to three years is sufficient. Unlike many houseplants, this succulent prefers being slightly root-bound and can actually produce more blooms when its roots are snug. If you are seeing roots creeping out of drainage holes or the soil appears depleted and crusty, then it is time to consider repotting. This guide covers every stage, from choosing the right pot to aftercare, helping you make the transition smooth for your plant.
Why Repotting Matters
Repotting isn’t just about giving a plant more room. It revitalizes the growing medium, refreshes nutrient availability, and improves drainage. Over time, potting mix breaks down and compacts, making it harder for water to penetrate. This compaction can suffocate roots and lead to rot. Repotting a Christmas cactus at the correct time can also give your plant a significant boost for the upcoming growing season.
Determining When to Repot Your Christmas Cactus
Most plant owners face confusion about timing. Should you repot immediately after purchasing? What if the plant is flowering? Below, you will find the ideal timing and scenarios for repotting.
Signs Your Plant Needs Repotting
- Roots growing through drainage holes.
- Soil that dries out within a day or two.
- Visible salt or mineral buildup on the soil surface.
- The plant appears top-heavy and tips over easily.
- Stunted growth despite adequate light and fertilizer.
The Best Time of Year
The ideal time for repotting Christmas cactus is early spring, just after the blooming cycle ends. This allows the plant to recover and establish new roots before the growing season. Avoid repotting while buds are forming or flowers are open, as the stress can cause blossom drop.
Seasonal Timing Table
| Season | Recommended? | Reasoning |
|---|---|---|
| Early Spring | Yes | End of dormant period; energy shifts to growth. |
| Late Summer/Early Fall | No | Bud formation begins; stress reduces flowering. |
| Winter | No | Active blooming; repotting causes shock. |
Choosing the Right Container
When repotting Christmas cactus, the container size and material matter significantly. A pot too large retains excess moisture, risking root rot, while a pot too small restricts growth.
Pot Material
- Terracotta: Porous; excellent for drainage and aeration.
- Plastic: Retains moisture; good for dry climates but needs careful watering.
- Glazed Ceramic: Visually appealing; ensure drainage holes exist.
Size Guideline
Choose a pot that is only one to two inches larger in diameter than the current one. This provides enough room for growth without overwhelming the plant.
Sandbox Tree: Why the World’s Most Dangerous Tree Demands Your Respect
Preparing the Best Soil Mix
This is the most critical step in the process. Christmas cacti are epiphytes, meaning they naturally grow in humus-rich crevices on trees. They require soil that holds some moisture but drains exceptionally well.
The Ideal Recipe
- 60% high-quality potting mix.
- 20% perlite or pumice for drainage.
- 20% orchid bark or coarse sand for aeration.
Expert Tip: Avoid heavy garden soil or mixes labeled as “moisture control,” as these hold too much water. Root rot is the leading cause of death for this species.
Step-by-Step Repotting Guide
To successfully repot your Christmas cactus, you must handle the root system with care. The roots are delicate and can break easily.
- Water the Plant (Optional): Water the plant a day or two before. This makes the root ball easier to slide out.
- Remove the Plant: Turn the pot sideways and gently tap the rim. Use a butter knife to gently separate the root ball from the sides if necessary. Slide the plant out carefully.
- Shake Off Old Soil: Gently brush away the old soil from the roots. Inspect the roots for signs of damage. Healthy roots are white or light tan. Soft, mushy roots are a sign of rot and need trimming.
- Prune Dead Roots: Using sterilized scissors, snip away any decayed sections.
- Prepare the Pot: Add a layer of fresh soil to the bottom of the new pot so that the top of the root ball will sit roughly an inch below the rim.
- Position the Plant: Center the plant in the pot.
- Add Soil: Backfill with the fresh mix, pressing lightly to eliminate air pockets. Leave about one inch from the pot rim to allow for watering.
- Initial Watering: Wait 5 to 7 days before watering. Waiting gives any broken roots time to callus over, reducing the risk of rot.
Post-Repotting Aftercare
The weeks following a repot can be stressful. Proper aftercare ensures a quick recovery.
Immediate Care
- Light: Place in bright, indirect light. Direct sunlight can scorch leaves.
- Humidity: If your home is dry, group the plant with others or use a pebble tray.
- Watering: Resist the urge to water. Wait until the top two inches of soil are dry.
- Fertilizer: Do not feed the plant for at least a month after repotting. The fresh soil contains nutrients, and fertilizing while roots are stressed can cause burn.
Expert Tips for Success
- Stem Care: If you accidentally break a stem segment during the process, let it callus for a few days and then stick it in moist soil. You just started a new plant for free!
- Support: Segmented stems can get heavy. If the plant is lopsided, stake it for a few weeks to keep it upright while the roots settle.
- Watering Technique: Always water deeply until it runs out of the drainage hole. This flushes excess salts out of the soil.
Common Mistakes to Avoid
Repotting is a straightforward process, but pitfalls are common. Below is a breakdown of the most frequent errors.
| Mistake | Why It Happens | How to Fix It |
|---|---|---|
| Watering immediately | Growers assume the plant is thirsty. | It’s a succulent; wait a week before watering to avoid rot. |
| Oversized pot | Believing bigger is better. | Roots stay too wet; use a pot only 1-2 inches larger. |
| Poor soil | Using generic potting mix. | Roots suffocate; mix with perlite and bark. |
| Repotting in winter | Ignoring the plant’s dormancy cycle. | The plant drops buds; wait until spring for repotting. |
| Handling roughly | Being careless with the root ball. | Roots are brittle; handle gently to prevent snapping. |
Frequently Asked Questions
1. How often should I repot my Christmas cactus?
It is recommended to repot a Christmas cactus every two to three years, or when signs of depletion appear. Some gardeners stretch this to four years if the plant is healthy.
2. Can I repot while the Christmas cactus is blooming?
No. Repotting during the bloom phase is not advisable. The disturbance in the root zone usually causes the plant to drop its flowers to conserve energy.
3. What type of soil is best for repotting Christmas cactus?
The best soil is a well-draining mix containing potting soil, perlite, and sand. This mimics the plant’s natural epiphytic environment. Avoid standard potting soil alone.
4. Should I water immediately after repotting?
No. Wait about five to seven days before the first watering. This delay allows any damaged roots to callus and prevents pathogens from entering the wounds.
5. How do I know if the pot is too big?
If you have more than two inches of space between the root ball and the pot wall, it is too large. Large pots hold excess moisture that the roots cannot absorb quickly, leading to fungal issues.
6. Why are my leaves turning purple after repotting?
Purple or red-toned leaves often indicate stress, usually from cold drafts, direct sun, or watering issues after repotting. Monitor the plant’s environment and adjust care as needed.
Conclusion
Repotting your Christmas cactus is a proactive measure that secures its health and enhances its blooming potential. While the plant is forgiving, attention to timing, soil choice, and aftercare is crucial. Remember to choose a pot only slightly larger than the current one, use a well-aerated soil mix, and delay watering. By following these guidelines, you ensure the plant remains a vibrant centerpiece for years. When you decide it is time for repotting, trust the process and be patient with your green companion.